To remove a cabinet hutch, first empty the contents, then unscrew the unit from the wall or lower cabinet. Carefully lift the hutch off to avoid damage.
Removing a cabinet hutch can give your space a fresh look, whether you’re renovating or just changing your decor. It’s a straightforward project that homeowners can tackle with a bit of preparation and the right tools. A clear workspace and safety precautions are crucial for a smooth removal process.
This task offers an opportunity to reimagine your storage solutions and can significantly alter the ambiance of a room. Understanding the steps involved in detaching and removing a hutch is key to executing this DIY project successfully, ensuring that your living space is enhanced without causing harm to your walls or floors.


Introduction To Cabinet Hutch Removal
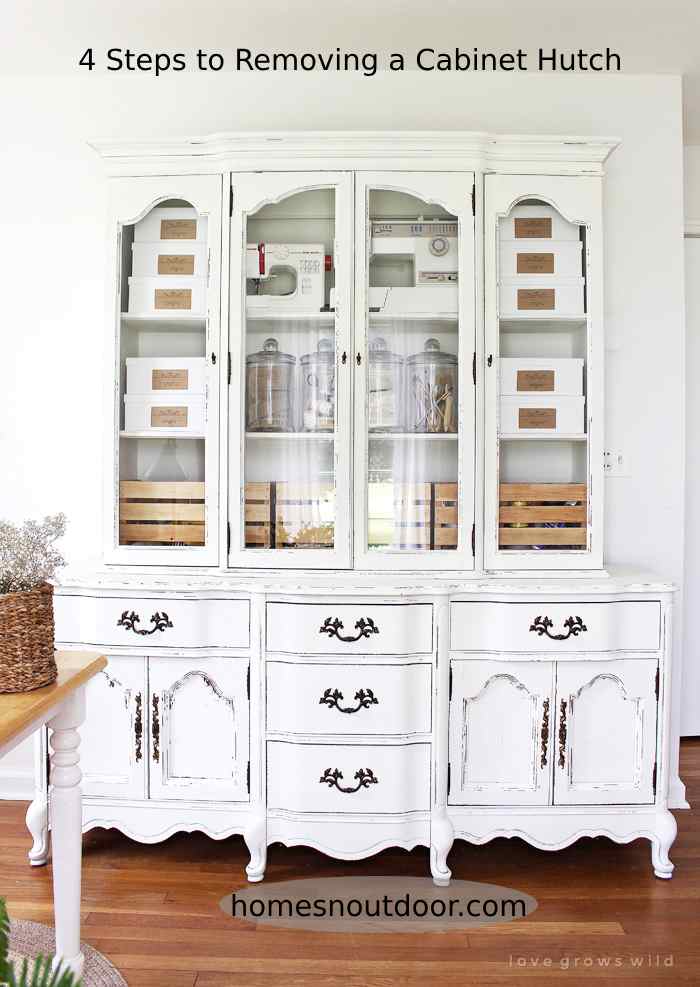
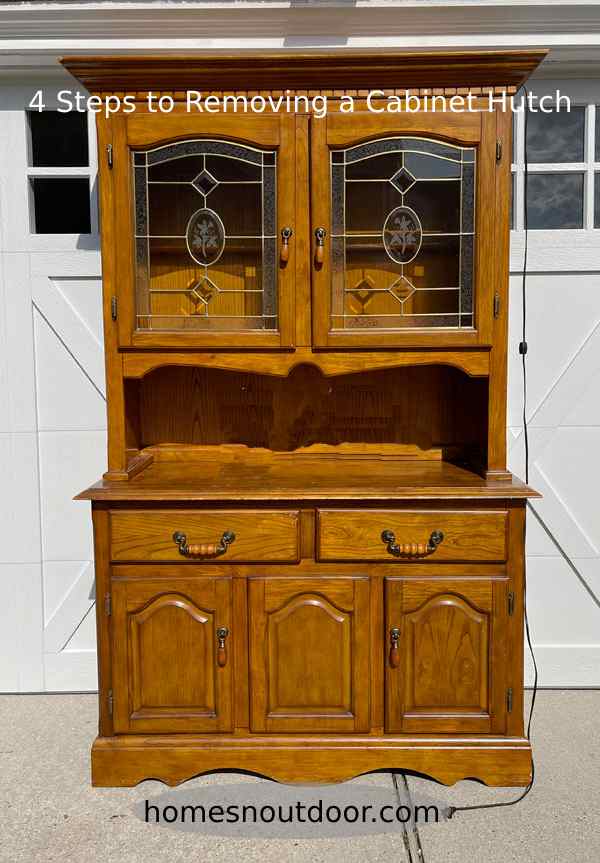
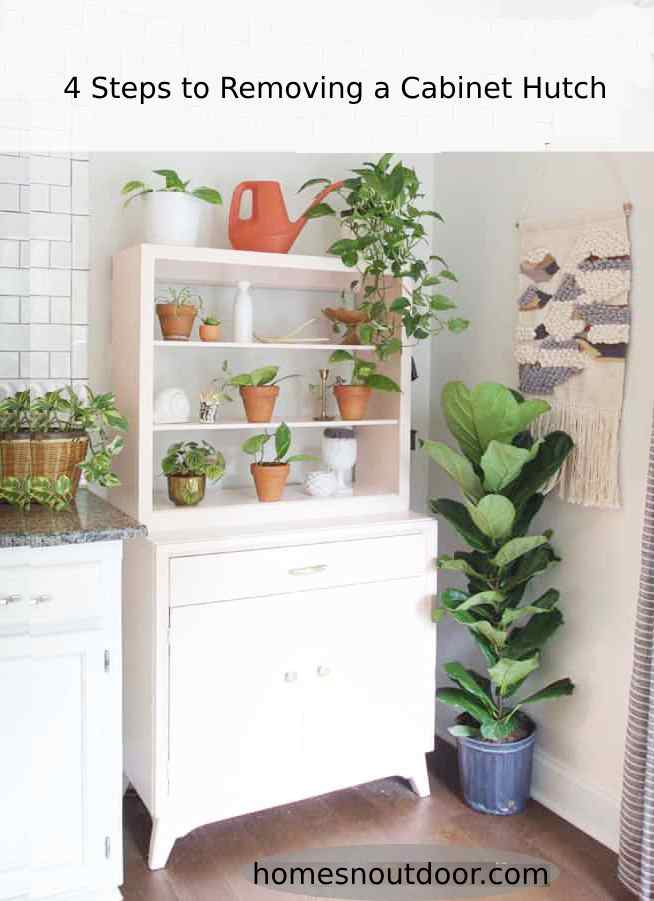
A cabinet hutch serves as a valuable piece of furniture, often providing additional storage space and aesthetic appeal to a room. It typically consists of a set of cabinets or shelves set atop a lower unit with a counter or cupboard space. The structure can be either a single, monolithic piece or constructed from separate components that are attached together.
Homeowners may decide to remove a cabinet hutch for various reasons, such as remodeling, reorganization, or replacing old furniture. Understanding the motivation behind the removal helps in planning the most effective method to detach and dispose of the hutch.
Before initiating the removal process, it is essential to consider safety precautions. Ensuring the hutch is empty, stabilizing the structure to prevent tipping, and having the right tools at hand are critical steps. Disconnecting any attached hardware and being wary of hazardous materials like lead paint in older furniture are also important safety considerations.


Credit: lovegrowswild.com
Preparation For Hutch Removal
Begin by emptying the hutch of all items, ensuring both a safer work environment and preventing any potential damage to your belongings. Keep a clear path around the hutch to avoid any obstacles while removing it. It’s crucial to have a clean and spacious area for maneuvering the hutch once it’s detached from the cabinet.
It’s important to have the right tools and materials at hand before you start the removal process. You will need a drill or screwdriver, hammer, putty knife, and protective gloves. Make sure the tools are in good condition to avoid any malfunctions during the task.
The sheer weight of a hutch makes it a task not suitable for a single person. Recruit at least one other individual to assist with the lifting and moving of the hutch. This will minimize the risk of injury and ensure that the hutch is transported securely and efficiently.
Step-by-step Process Of Detaching The Hutch
The removal of a cabinet hutch begins with loosening the fasteners or screws that secure the unit. Ensure all tools are at hand, such as a screwdriver or a drill, to facilitate a smooth process. Gently twist each fastener until it is free but keep them in a safe place for future use.
Proceed with cautious separation of the hutch from the base cabinet. This might require a gentle tug upwards or a back-and-forth motion if it’s tightly fitted. Enlisting the help of an assistant can prevent accidental damage to the hutch or the underlying surface.
For hutches that are built-in, pay close attention to electrical or other connections. Disconnecting these requires careful handling to avoid damage. Turn off the power supply if there are any electrical fixtures involved before disconnection.
Finally, ensure stability during detachment by holding the hutch firmly. In situations where the hutch is large or unwieldy, clear the area and use supports to prevent toppling, which can prevent injury and property damage.
Post-removal Procedures
Once the cabinet hutch is removed, your next step is disposing of or repurposing the detached hutch. If you choose to dispose of it, check with local waste management services for large item pick-up guidelines or recycling options. For those who prefer to repurpose, consider transforming it into a bookshelf, storage area, or a unique new furniture piece.
Repairing and repainting wall surfaces may be necessary to restore the room’s aesthetics. Fill any holes with spackle, sand down once dry, and apply a fresh coat of paint to match the existing wall color. This refresh can significantly improve the overall look of the space.
To reorganize the space, envision a new purpose that better fits your current lifestyle or needs. This might include adding new shelving, creating a small office area, or designing a cosy reading nook. The goal is to maximize the utility and enjoyment of your newfound space.


Frequently Asked Questions Of 4 Steps To Removing A Cabinet Hutch
Can I Remove A Cabinet Hutch Without Help?
Yes, you can remove a cabinet hutch alone if it is small or lightweight. However, larger hutches typically require at least one additional person to assist with the removal to ensure safety and prevent damage to your home or the hutch.
What Tools Are Needed To Remove A Cabinet Hutch?
Standard tools required include a screwdriver, drill, hammer, and possibly a pry bar. Safety equipment such as gloves and eye protection are also recommended to prevent injuries while working.
How Do I Prepare The Area For Hutch Removal?
Start by emptying the hutch completely. Protect your floors with a drop cloth and remove any nearby furniture that could obstruct the work area or get damaged. Make sure you have a clear path to exit with the hutch once it is detached.
How Do I Detach A Hutch From The Wall?
Most hutches are secured with screws or brackets. Use a screwdriver or drill to remove these fasteners carefully. Check for any hidden attachments before attempting to lift the hutch away from the wall.
Conclusion
Dismantling a cabinet hutch can be streamlined into four manageable steps. With the right tools and a bit of patience, you’ve learned that anyone can do it. Remember to stay organized and take your time for the best results. This guide should help you reclaim your space efficiently, starting today!

